
How to Fix Deep Car Scratches on Your Car at Home, Saving on Money and Time.
Have you ever asked yourself where your car got a deep scratch from? Well, whether obtained from a minor accident, rocks, and pebbles or vandals, deep scratches are annoying, expensive to repaint and may open the car paint for future rust problems.
More...
The task of fixing these deep scratches is not that simple as you can miss on other scratches. This article gives simple guides on how to fix deep scratches on your car at home to obtain that appealing to eye new look your car had before. These steps save you the money to hire a professional to do the work.
How to Fix Deep Car Scratches on Your Car at Home
Items Needed
This guide helps fix a deep scratch on your car at home, saving you time and thousands of dollars you would have used in a body shop. It requires the following few simple and less expensive items that can cost below $100. For this steps, you will need:
Items Needed to Fix a Deep Scratch
1. Wet/ dry Sandpapers
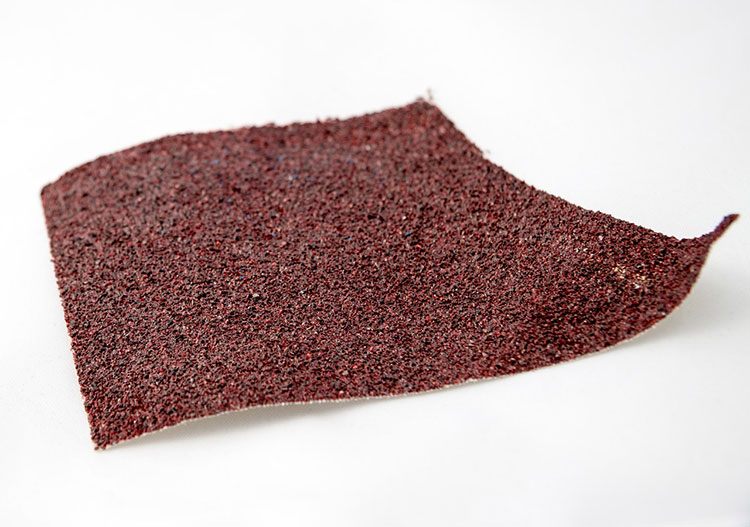
Buying assorted wet/dry sandpapers with one sheet containing 400, 600, 800, 1000, and 1500 grit saves you a lot of cash. This are essential as they are used for sanding the clear coat, primer, to obtain a smooth surface.
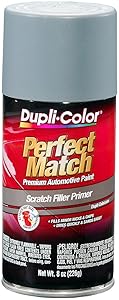
2. Primer, Touch-up paint & Clear Coat
Via amazon.com
Aerosol acrylic lacquer primer helps fill in the scratches and creates a uniform smooth surface.

Via amazon.com
Ensure you pick the right aerosol spray paint that matches the paint to that on your car. I recommend aerosol spray paint that matches the paint to your car.
3. Rubbing Compound & Aerosol Spray Trigger
Check out for a product with the best reviews in the market. Meguiar's Ultimate Compound is one of the best car scratch remover that get rids of light to deep scratches, swirl marks, and heavy oxidation. It is an inexpensive product that is safe, leaving a smooth finish on your car.
Aerosol Spray Trigger - Makes application of the paint and clear coat easier and faster.
4. Prep Solvent & Paint Sealant
Prep Solvent - This removes the dirt, oil, and other surface contaminants to improve surface adhesion.
Paint Sealant - Meguiar's Ultimate Polish is my favorite car paint sealant when it comes to giving your car a deep, glossy look like that of motor display shows. You can also use other products in the best car paint sealant article in our website.

Via amazon.com
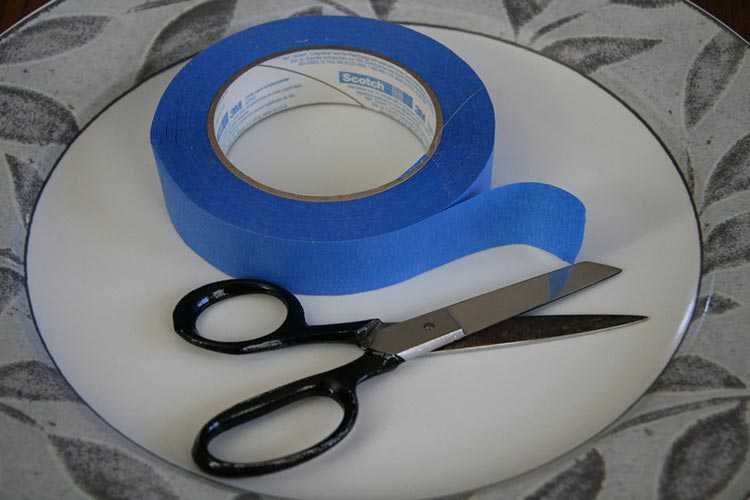
5. Wax, Microfiber Cloths & Automotive Masking Tape
Wax - For a long lasting protection and smooth bold looks, Meguiar's Tech Wax is the recommended wax with a polymer technology to provide this. With the reviews in the market, it is the best car paint sealant when it comes to offering appealing, nice looks for your vehicle.
Microfiber Cloths - This leaves no scratches on the car when used to wipe off dirt or dry after washing.
Automotive Masking Tape - Used to mask the plastic cover or newspapers to avoid primer/paint sticking to the undamaged areas.
What You'll Need To Do Now?
This step involves quick procedures that when carefully followed will help fix deep scratches on your car.
1
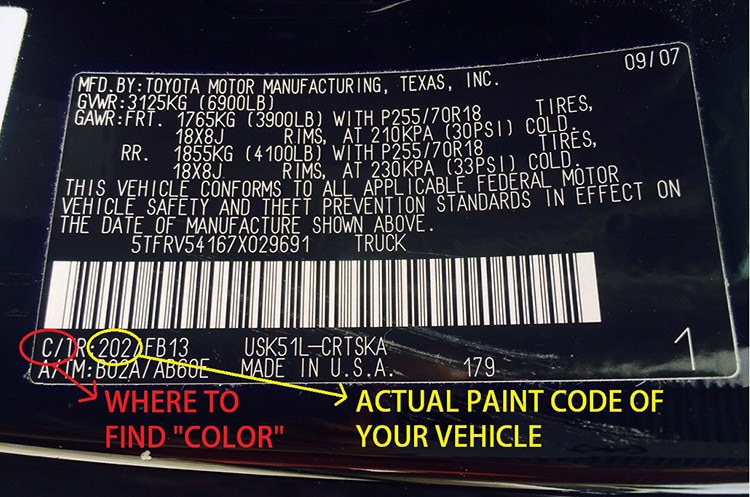
Car Paint Code
Via revemoto.com
Involves locating the vehicle color code that might be in the trunk or glove box. The car paint code helps you buy the right touch up paint to use. For deep scratch, spray painting is the effective touch-up paint.
Alternatively, if you have problems locating the color codes, you can select the right one in the auto paint shop by comparing the colors available depending on your car model and year.
2
Assessment of the Damaged Part
Involves careful inspection of the damaged area to know the extent of harm caused. Depending on the scratch, grave or minor, determines the type of approach to repair.
Deep scratches appear to have a different color as that of the paint. Sometimes, the scratch may extend to the steel layer of the car which requires lots of work to repair.
Apply the rust remover into the deep cut and allow penetration for about 15 minutes. Thoroughly rinse the area with water. Remove the dirt and oils in the damaged area with the prep solvent. Clean the surface and dry to obtain a clean work surface.
3
Masking
Via semproducts.com
Using the auto masking tape, mask the scratched area to protect over-spraying the car of the primer and paint. Use plastic covers or newspapers to avoid leaving any marks behind after the task. Also, remember to leave enough space for blending of the primer and the paint.
4
Sanding

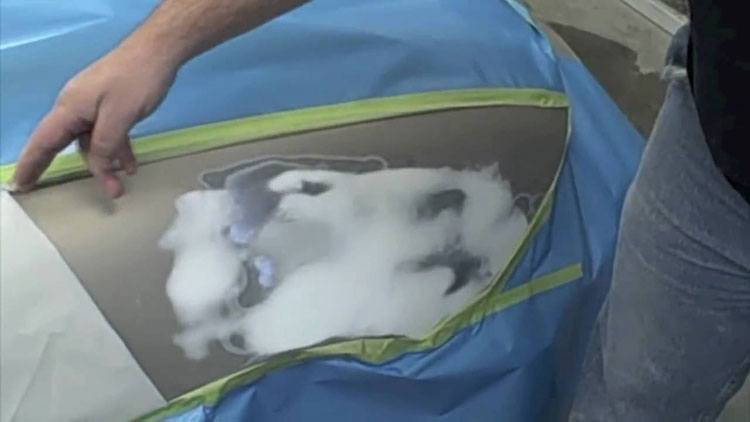
With circular slow motions, carefully sand the damaged are using 600-grit sandpaper. To save time, wet sand by soaking the sandpaper in water for roughly 15 minutes. Make the surface slippery by use of a dishwasher, clearing the sandpaper after five motions.
The end product should be a smooth surface free from scratches and any dirt. If not smooth, continue sanding without worrying about the paint as it can be reapplied.
Clean the sanded area by using a prep solvent to get rid of any dirt left behind. Apply it by spraying and wipe it off with a clean, dry microfiber cloth. Ensure the area is completely dry before taking it to the next step.
5
Apply the Primer
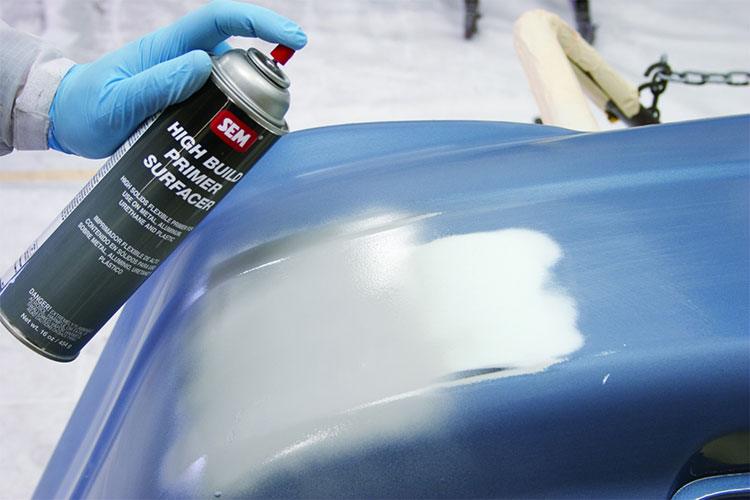
Via semproducts.com
The primary function of a primer is to prevent rusting of the car metal and also to fill sand scratches, creating a uniform working surface. The color of the primer should be as close as possible to your paint color, so as to spend less on the paint coat needed to cover it.
After carefully reading the instructions on the can, apply three coats of the primer, each after 10 minutes for drying. Spray the primer 20 inches away from the car surface. Primer helps to cover most of the grit sand scratches.
6
Sanding the Primer
After 30 minutes of drying, you need to sand the primer to obtain a smooth and even surface. Starting with a wet 600-grit sandpaper followed by a wet 1000-grit sandpaper, you should have a smooth surface that clogs less.
Remember to wrap the sandpaper around a sponge to avoid leaving behind your fingerprints on the car. Dry the surface of repair after this task.
7
Paint/Base Coat.
First, test the touch-up paint to confirm if it matches your car color. After shaking the can, spray the damaged area, with the can positioned 20 inches away. Application by spraying is much easier and quicker.
By feathering, apply three coats each after 15 minutes on the old paint. Give it 30 minutes to dry before having the clear coat. At this stage, you are now almost done with this task and be able to have an excellent looking car.
8
Clear Coat.
Clear coat helps protect your vehicle from the harsh environmental conditions such as Ultra-Violet radiations, making the paint durable from contaminants attack. It also makes the surface smooth and has a dark glow.
Apply a maximum of four coats, leaving a period of 15 minutes for each coat to dry up. The coat should have a wet look though it should not drip. Apply the rubbing compound 24 hours later.
Remember to implement the auto clear coat as it is different from other clear coats as it makes the paint stronger and does not chip off easily after application.
9
Application of the Rubbing Compound
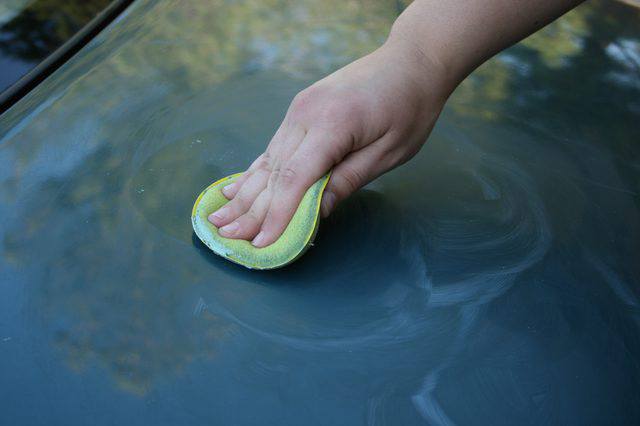
Via Alexandra
With its abrasive properties, rubbing compound removes the imperfections from the used clear coat and adds the wet, glossy look. It is also used to remove any over spray on the car’s surface.
After carefully going through the instructions, place a few drops of the rubbing compound on the application pad and make few circular motions on the surface. Wipe off the residues using a microfiber cloth to leave a smooth texture.
You can use a wet/dry 1500-grit sandpaper to remove clear coat overspray or any dust on the car.
10
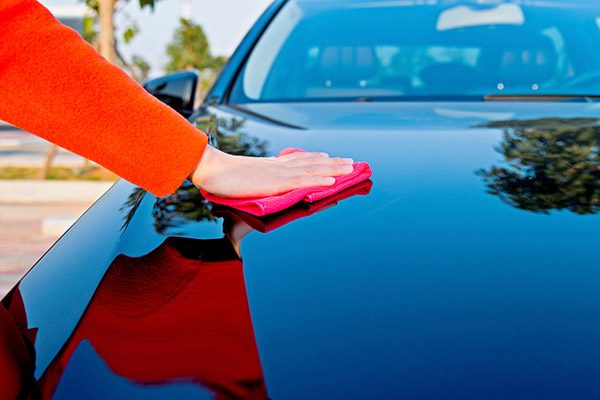
Polishing
Although this procedure is optional, you may want an attractive shiny look on your car by applying a polishing compound. You can either apply the product by hand or by use of a machine/buffing.
For the best car paint sealant, I like the Meguiar's Ultimate Polisher as it leaves no scratches on the finish and it's easy to apply too.
Using the application pad, apply the polish to the damaged section at 200 revolutions per minute. Wipe the area clean using the microfiber cloth and buff.
11
Use of Wax
Applying wax is an optional procedure. It requires 30 days after polishing.
Here is a You-Tube video that gives more information on how to fix deep scratches in your car.
After all the steps, you can now relax and enjoy your ride as you no longer have the deep scratch on your car. You can also spend the remaining cash to add on other features you have been dreaming about for your car.
Via shattuckauto.com
And To Wrap It All Up...
I hope you managed to repair the deep scratch on your car by following this simple steps. The end product should be a deep, glowing look on your car with a smooth surface. Although the repaired area might look dull, with a few car washes, the surface should be uniform as other car parts.
I hope this article was engaging and fun to read. You may now realize how you have saved a lot of cash and time in fixing the scratch that earlier seemed to be an impossible task. If you do not have so much time to take care of your car, you can also come to the Bristol car body repairs to have their service.
Please feel free to share your experiences or ask any questions on how to get rid of scratches and swirl marks. Kindly share the article if it was helpful to you so as to help others who may have the same problem.
Thanks for your time.
Related Posts
Fleet Fuel Cards for Optimal Car or Truck Expense Tracking
Top Simple Ways to Improve the Look of Your Car
3 Things You MUST Know Before Buying Car Parts
How to Increase Your Visibility When Driving at Night
Negotiating a New Car’s