
How to Remove Moisture Build Up in Your Headlights Quickly and Easily
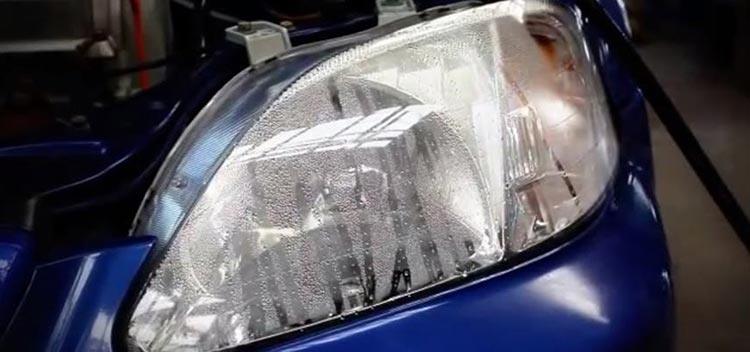
Have you ever been driving at night while it is hard to see, and your headlights just aren’t working well enough to drive safely? Moisture build up inside of your headlights can cause your lights to not work effectively, which can make it very dangerous to drive at night.
More...
But don’t worry, this is a fairly common problem and thankfully is not too hard to fix.
Via wonderhowto.com
It won’t usually happen very often, and the moisture will usually disappear shortly after turning on your headlights. It isn’t much different from how your windshield will fog up occasionally because of high humidity.
However if it is becoming a common occurrence there are steps you can take to not only remove the moisture build up in your headlights, but also follow a few simple steps to make sure it doesn’t happen again. You may also want to know the best headlight restoration kit to keep your headlights on top shape!

How to Get Moisture Out of Headlight
Materials Needed
Here are a few simple tools and materials you should have to make removing the moisture build up and sealing off your headlights quick and easy.
1. A Ratchet and Socket
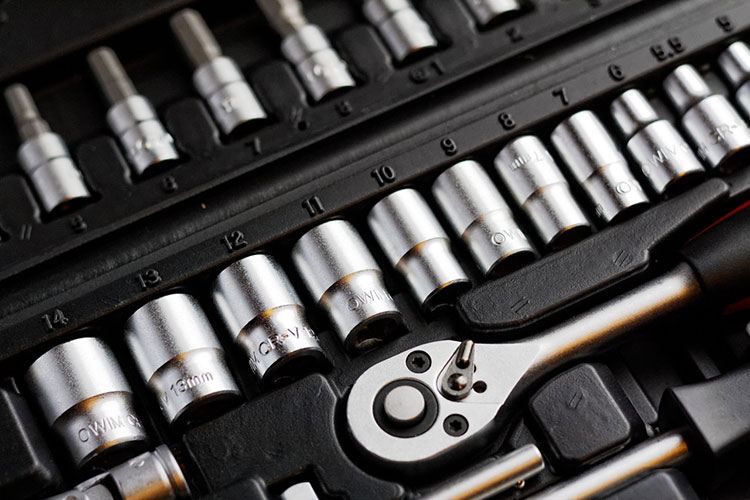
Most modern cars you will just need a ratchet and a socket to remove 3 screws around the headlight assembly (check with your owners manual for the specific size). However most older cars actually use Phillips screws to hold the headlight in place, so a screwdriver would be needed then.
2. Lint-free Cloth
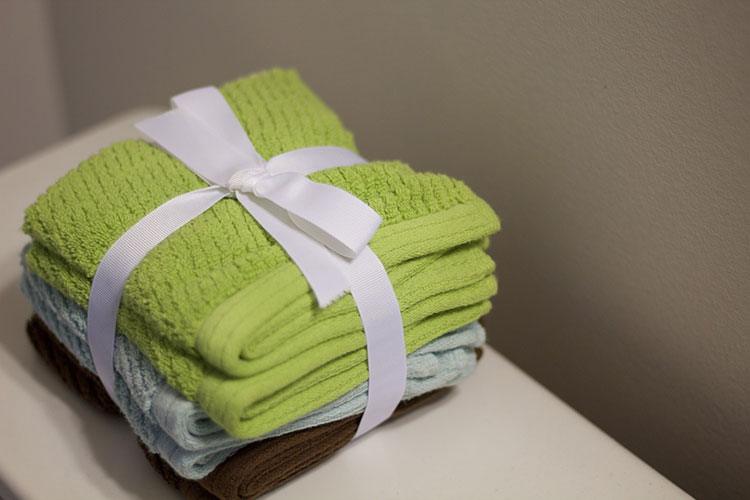
These cloths are so you can remove the current moisture from the inside of your headlights. If there isn’t currently any moisture in them and you just want to seal off your headlights, skip this item.
3. Silica Gel Packs
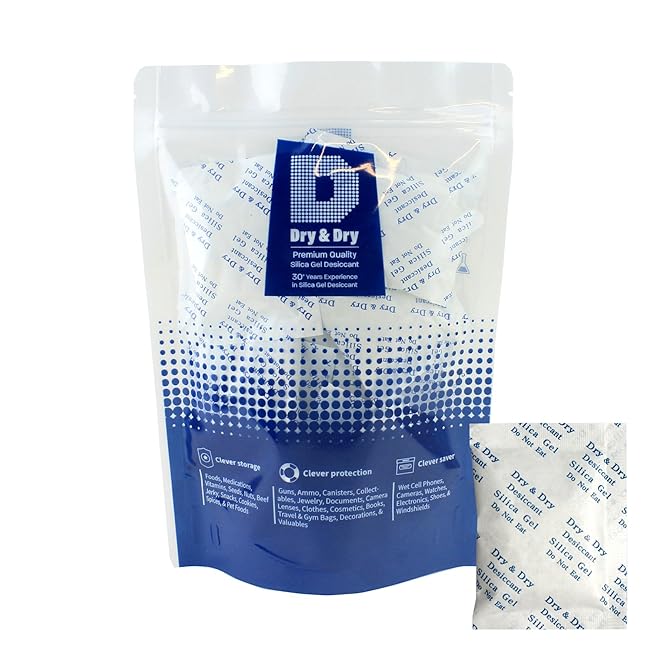
Via amazon.com
These gel packs are awesome for absorbing moisture. Placing them in your headlights is a good inexpensive fix for removing moisture from your headlights without having to install brand new seals.
4. New Headlight Seales

Via amazon.com
If moisture in your headlights is becoming a frequent problem for you, consider buying some headlight sealant. This will completely seal off your headlights by filling in gaps and cracks in your seals making it much harder for unwanted moisture to get inside.
Optional: A Simple Blow Dryer
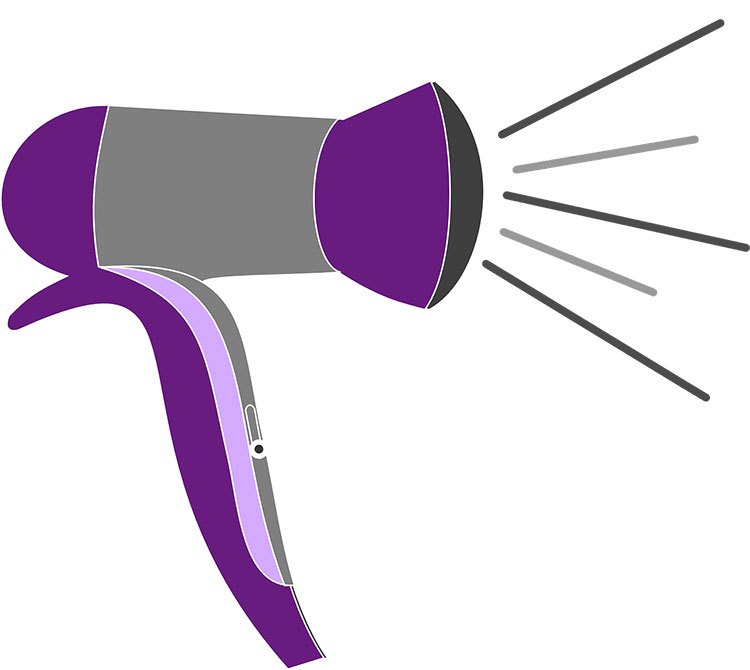
If you need the moisture from your headlight gone fast without having to go through the process of removing your headlight you will need a simple blow dryer. Skip to Step 6 if you want to use this method.
What Should We Do Now!
Step 1: Removing Your Headlight Assembly
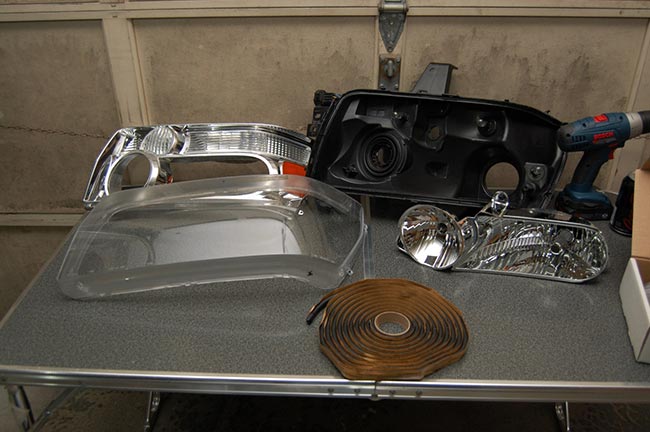
Via nicoclub.com
This step will be hard to explain since different vehicles have different ways their headlights are installed. You can consult with your owner’s manual, which should provide you with all the specific tools and steps needed to complete this task.
However, I have found a video on YouTube that shows how to remove headlights on a car just to give you an idea of what to expect when performing the task on your own vehicle.
For this you will only need a type of ratchet and socket to remove 3 screws from your vehicle. Just simply turn the screws counter-clockwise to remove them, and then pull the entire headlight assembly towards you to remove it from your vehicle.
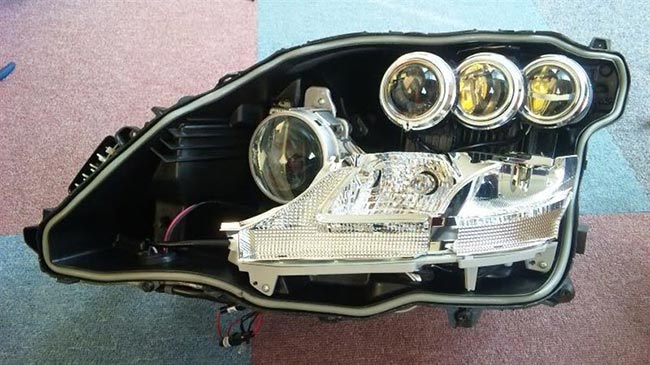
Step 2: Wipe Off The Moisture With Your Lent-Free Cloth
Once you have completely removed your headlight assembly, take your lent free cloth, and wipe the entire area around the headlights as well as any other surface area on the headlight lenses that appear moist. Here are some example images below.
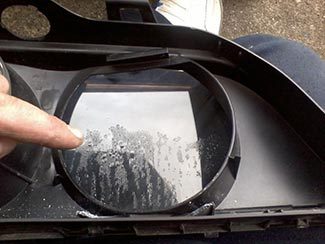
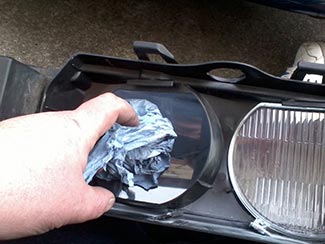
Via bmw-driver.net
Step 3: Insert Silica Packs
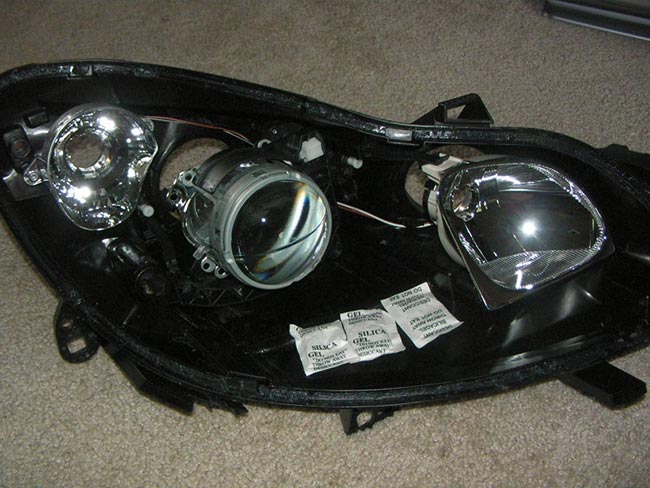
Once the inside of your headlights are completely dry, it is time to place your moisture absorbing silica packs into the headlights. Make sure that these small packets don’t come in contact with your headlight bulbs; otherwise they will be blocking the light coming from your headlights.
Also make sure that they are in secure spots inside your headlight enclosure so that they won’t move around, potentially coming in contact with your headlight bulb. If you can’t seem to put the silica packets in a secure spot, consider using a little bit of tape to hold them in place.
Bonus Step 4: Putting On Headlight Sealant
Via hidplanet.com
If excessive headlight moisture is a frequent problem for you it might be worth using headlight sealant. This attacks the root cause of the moisture problem by blocking out any new moisture from getting inside.
You may get moisture and hard water spots (you may want to know how to remove water spots from car on our other post) from the same water you use for cleaning your vehicle.
The reason you had moisture in your headlights originally was most likely caused by having a crack or leak in one of your headlight seals. But not to worry this is a simple enough fix.
Here is a helpful video I found that shows you how to put headlight sealant on headlight.
Keep in mind though: that even if your seals are perfectly fine, you might still get a little moisture in your headlights. How? Well because most modern headlights have small holes spaced around the headlight enclosure, which allows ventilation for your headlights since they do heat up (with exception of the newer LED headlights).
But, if headlight moisture isn’t too frequent of a problem yet, you will probably be better off just following Step 3 and installing silica packs to keep small amounts of moisture out.
Step 5: Re-Installing Your Headlight Assembly

Via youtube.com
Once you have wiped down the insides of your headlight and either installed silica packs and/or applied your headlight lens sealer, you need to re-install your headlights.
This is simple, just place your headlight assembly back where you removed it from and re-insert the screws, snugging them up tight until the headlight is firmly attached to your vehicle.
Here is an excellent video I’ve found, that not only shows how to re install your headlight assembly, but it also goes over how to install the headlight lens sealer from the previous step. This is in case your headlight was different from the one the video in step 4 used.
Optional: Step 6 - Using A Blow Dryer To Quickly Remove Moisture
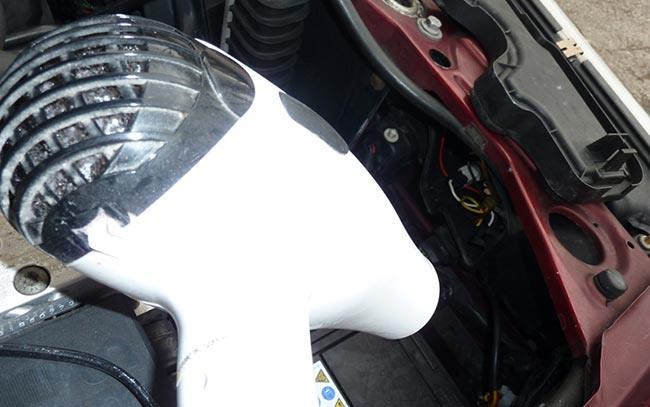
Via carlightblog.com
If you need to remove your headlight moisture quickly and without removing your headlight assembly you can do this by using a blow dryer. This is simple. All you have to do is turn on your blow dryer and point it at your headlight to heat it up. This will cause the moisture inside to evaporate and disappear fast.
But, you need to be very careful. Don’t point it directly at any plastic components that might be damaged by experiencing high heat. If blowing the hair dryer at the headlight from the outside of your car isn’t working fast enough, you might want to try lifting up the hood of your car and blowing hot air on your headlight from the back.
Conclusion and Final Thoughts!
So hopefully this article was sufficient in explaining how to remove moisture build up in your headlights quickly and easily. Maybe you also need to adjust your headlight or turning on your high beam after you have done above.
This is a very simple fix to perform and could save you a costly trip to the mechanic to tell you what I just told you for free.
Again, if you have any questions or feedback, please leave a comment below we’d love to hear from you! Please be sure to share this article on Facebook or Twitter if it was helpful to you, and make sure to come back and check this blog out again soon for more helpful How-To posts and more!
Related Posts
How to Increase Your Visibility When Driving at Night
BMW 5 Series F07 GT F10 F11 Angel Eyes Side Daytime Lights Fault and Vertical Aim Control Failure
How do You Select the Best Headlight Restoration Kit Online?
How To Turn On Your Headlights And The High Beam – 5 Easy Steps You Can Do
Top 5 Best Headlight Bulbs For Vehicles in 2017