
5 Easy Steps to Remove Brake Drums at Home
Have your brakes been feeling sluggish lately or has your emergency break been taking more and more effort to fully apply it?
More...
Once in a while, there are some repairs your car needs that you can do on your own. This not only saves you money, but it also builds valuable skills and provides the satisfaction of being able to do your own work on your vehicle.
One of these repairs includes servicing your rear drum brakes. Brakes are a very important part of your vehicle, and keeping your brakes in good condition is vital to keep you, your passengers, and other drivers on the road safe.
In fact, modern vehicles are designed with an ABS (anti-lock braking system) as an added safety feature to help you attain the maximum braking pressure without losing control of the steering wheel.
Drum brakes can usually last up to 200,000 miles. But, sometimes they will need to be replaced sooner depending on how the internal components of your brake get worn down.
The good news though, is that servicing your rear brakes is not a very difficult task and can be done easily at home.
How to Remove Brake Drum at Home

What You'll Need
Before engaging on any repairs on your car, you will need the right tools for different steps that you will carry out. In this How-To guide, the following tools will be needed:
1. Car Jack

Via amazon.com
This is an essential tool you will need to lift the car off the ground so that you can remove the wheels and gain access to the drum brake. Preferably a heavy duty one that can lift up to 3 tons like this Powerzone Jack.
2. Tire Wrench
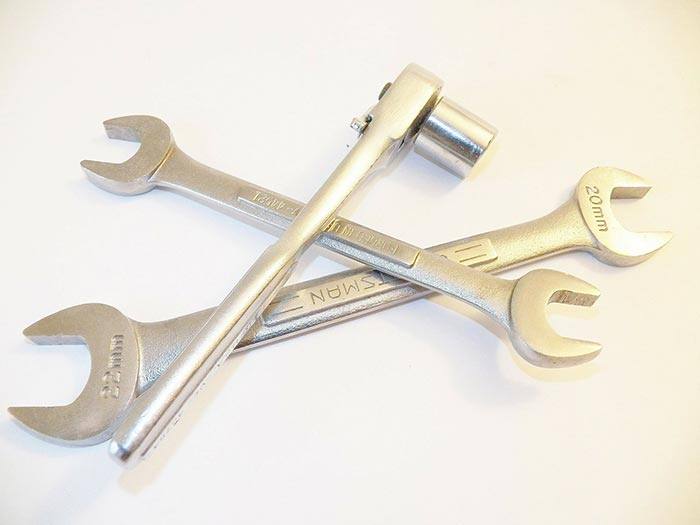
A tire wrench is needed for loosening the nuts on the wheel, so that the wheel can be removed from the hub. I would recommend a TEKTON Torque Wrench for the job so that you can apply the proper torque when putting your wheels back onto your vehicle.
3. Jack Stand

Via amazon.com
Once you have lifted the car off the ground using the jack, you need to secure the car using the jack stand. This is safer than the jack and will help keep the car stable while you perform your work. Just make sure they can hold at least 2 tons like this pair.
4. Hammer & Screwdriver
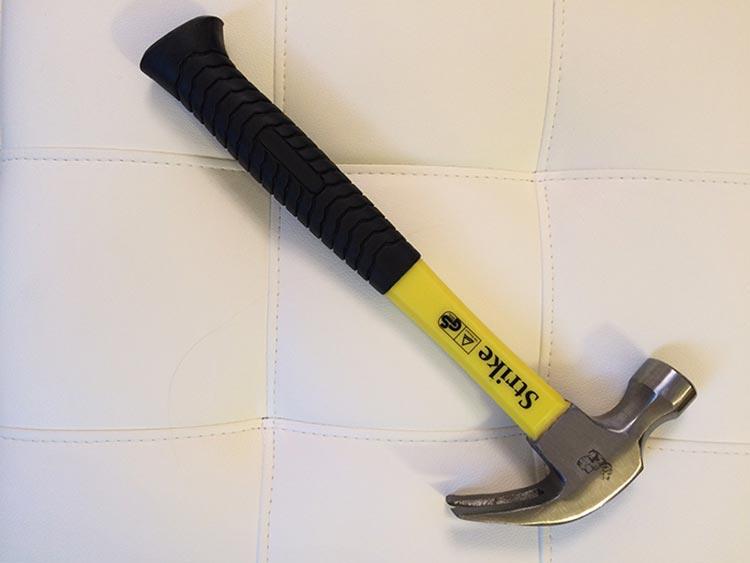
Once the wheel has been removed, a hammer will be needed to tap around the drum so as to break tension and allow the drum to come off.
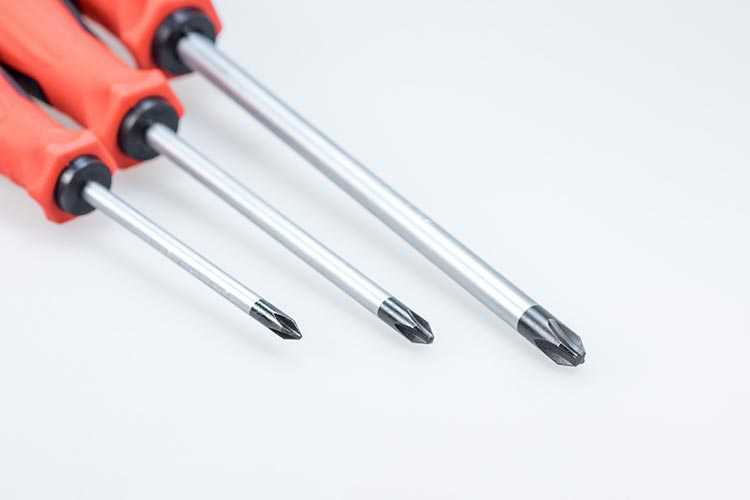
This will be used for adjusting the brake shoe off the drum.
5. Protective Eyewear
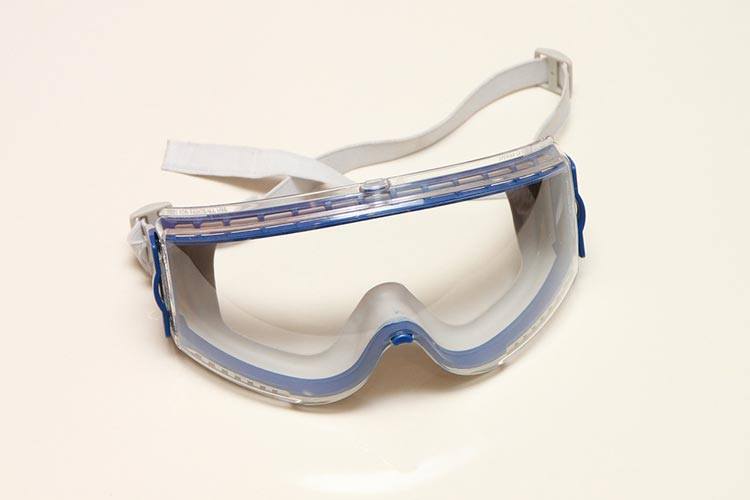
These are needed to protect your eyes from any flying shards of metal or other debris when using the hammer or from the dust from inside the brake drum. Please, please, please make sure you wear something like these. Protecting your vision is priceless!
Step by Step Instructions
1
Safety First
Before doing any maintenance job on your vehicle, it is always very important to ensure that you have the necessary safety gear. This will protect yourself and anybody around you from suffering any injuries.
Before starting the job, put on your protective eyewear. Also, make sure that your vehicle is parked on an even and hard surface.
Next, turn off the key and remove it from the ignition, and double check that the vehicle gearshift is in the Park (P) position and the handbrake/emergency brake is engaged.
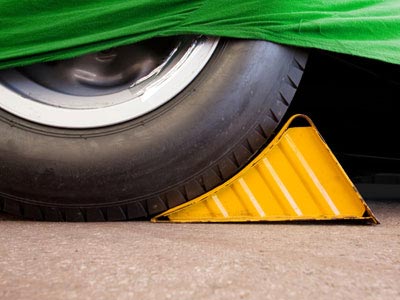
You can also put wheel chocks or blocks (sometimes I use wooden blocks laying around) at the front and back of both front tires to keep the car from rolling off of the jack stand unintentionally.
2
Loosening the Lug Nuts
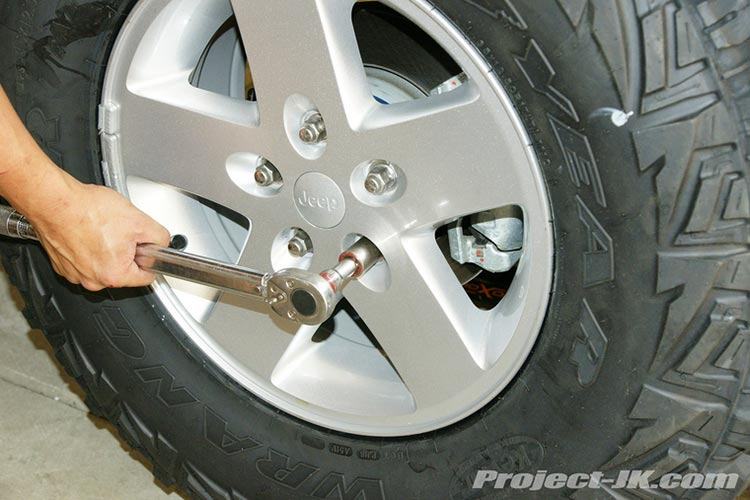
Via wayalife.com
The next step is loosening the lug nuts, but you must do this before lifting the rear wheel off of the ground. The reason you need to do this before is because it’s much easier break the tension of nuts while the car is still sitting on the ground. Then it will not accidentally move or slip off of your jack stand.
So to do this properly, make one complete turn in the counter-clockwise direction for each lug nut; again, do not remove nuts completely off the wheel. Just get them started.
3
Lifting the Car and Removing the Wheel
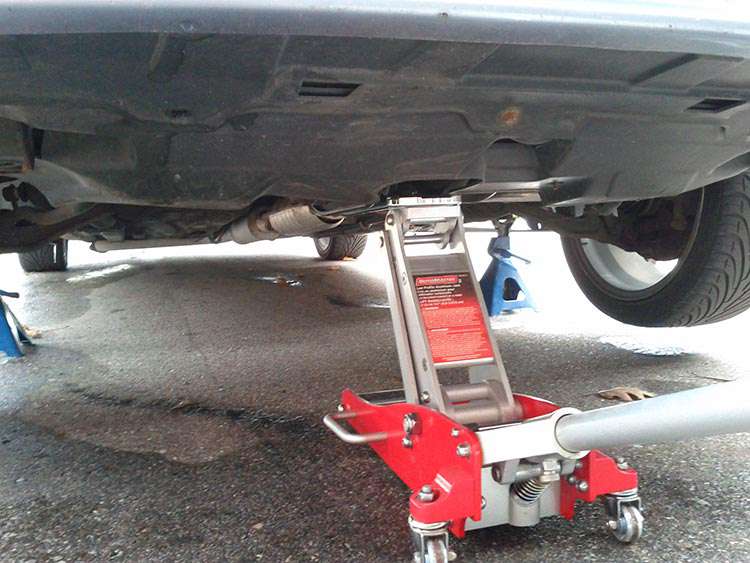
Take the jack and place it securely underneath the car. Find a rigid part where there are no plastic parts, hoses/pipes, or weak body parts. Make sure the car jack stands on a firm and flat place on the floor before you start lifting the car.
The jack should also be in front or just behind the rear wheel so that you can only lift one wheel instead of the entire car.
Once the wheel is safely off of the ground, take the jack stand and secure the car. Find a rigid body part underneath the car to place the jack stand, and then slowly start lowering the car jack so that the car can rest on your jack stand.

After that, you can now continue unscrewing all the lug nuts from the wheel hub until they come completely off (make sure to place them in a spot that you won’t lose them). You can then pull the wheel off the car and place it somewhere secure and out of your way.
4
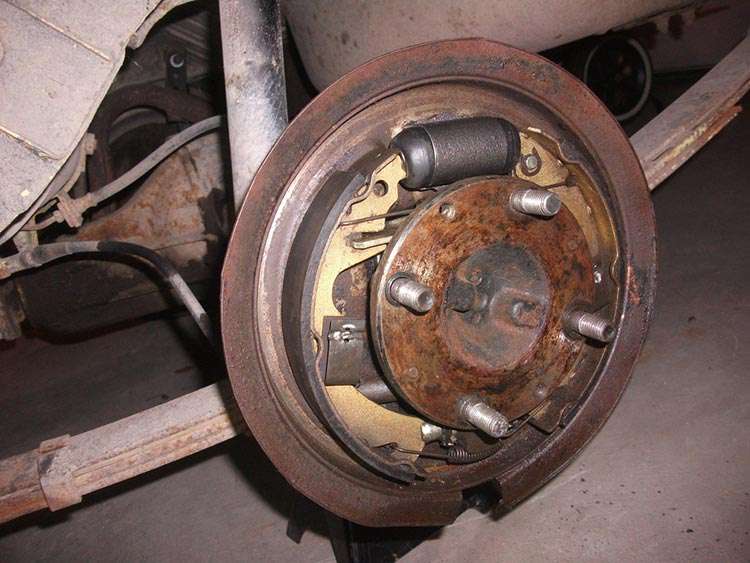
Removing the Brake Drum
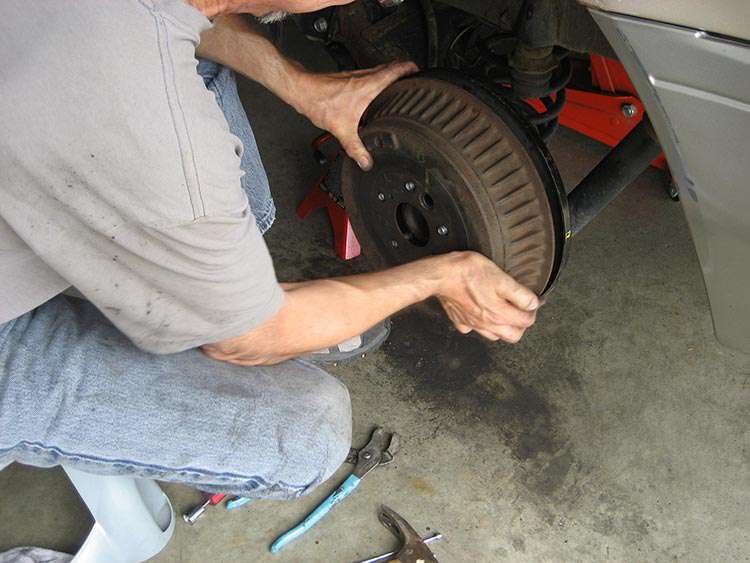
Brake drums are normally secured in different ways depending on the car model and type. So the first thing you should do is inspect the drum so that you can know how it is secured to your vehicle.
Some brake drums are secured with a nut, which is normally covered by a plastic cap. In this case, use a screwdriver to remove the plastic cap and use a wrench to unscrew the nut.
Other types of cars have the drum secured in place by a washer. In this case, you should knock off the washer by placing a flat head screwdriver next to the washer, and tapping the end of the screwdriver with a hammer.
After you have successfully removed the securing devices, disengage the handbrake/emergency brake (but keep your car in [P] Park). This will free the drum from the shoe so that it can easily come off.
Then, take a hammer and gently tap round the drum before gently pulling it off. In case the drum is still holding on firmly, locate the adjuster screw. This screw is normally placed beneath the centreline and it is large and horizontally slotted at the rear side of the drum.
Use a flat screwdriver and rotate the adjuster screw in a counter-clockwise direction until the screw can no longer move. This will completely disengage the shoe from the drum and it will now come off easily when pulled.
If you are more of a visual learner, this video by Expert Village might be helpful to watch to learn how to access the adjuster screw. He also shows how to properly adjust the brake once you replace the worn out brake shoe with a new one:
5
After Removing the Brake Drum
After removing the drum, there might be a lot of dirt in the brake shoe assembly as well as inside the drum. Use the correctly specified cleaning agents like denatured alcohol or brake cleaner to clean the shoe assembly as well as the drum.
Then, examine the size of the brake shoe and if it is thinner than the manufacturer’s recommendation, make sure you replace it. I encourage you to watch the following video to learn how to correctly measure the brake shoe size, as well as where to find the right specs to check:
6
Putting the Wheel Back On
When you place the wheel back onto your car, put the lug nuts firmly on, but not completely tight. Once your car is back on the ground, use a torque wrench to put the proper amount of torque. This video does a good job of explaining how to properly use a torque wrench:
IMPORTANT!
Make sure after driving 30 miles on your re-installed wheels that you check the torque AGAIN. Sometimes lug nuts can bind up when you initially install them, and will quickly loosen once you start driving.
This also ensures that you double check to make sure none of the bolts are too loose or too tight. After all, having your tire fall off while driving is the last thing you want to have happen!
And To Wrap It All Up…
After following these 6 simple steps your brakes should be working just like new again. And by taking the time to perform this task yourself, you’ve not only saved money, but also hopefully felt the satisfaction of doing your own work on your own vehicle. This should make you very proud, most people have no idea what a drum brake even is!
I hope you enjoyed reading this article and hopefully these steps were easy to understand and follow. Please feel free to share your experiences or ask any questions you have about removing drum brakes in the comment section below.
Your feedback could help answer questions that other readers of this blog might have. Also if this article was helpful to you, please share it with your friends to help them out as well.
Thanks for stopping by!
Related Posts
Why Do New Car Tires Wear Out So Quickly?
How to Change a Tire: A 7-Step Beginner Guide
Top Signs You Need To Replace Your Brakes
Warning Signs for Changing Your Car Brakes
How to Polish Aluminum Rim? Clean and Buff Your Aluminum Wheels Like a Pro